
The email sending limit varies across various hosts, ranging from per minute to hourly and even daily. Knowing the exact limits in the case of...
Key Takeaways
- A PTR record maps an IP address back to a hostname, and mail servers use it to verify the network-level identity of a connecting sender before accepting messages.
- PTR records live in DNS zones controlled by the IP owner, not the domain owner. You must request the record from your hosting provider, cloud platform, or ISP, as you can’t publish it yourself.
- FCrDNS is the standard check receiving servers run: the PTR hostname and the matching A record must resolve back to each other. A mismatch is the most common cause of PTR-related deliverability failures.
Gmail, Yahoo, and Microsoft all check PTR records on incoming mail, and they reject or spam-folder messages from servers without valid reverse DNS. Unlike SPF, DKIM, or DMARC, a PTR record isn’t something you can add to your own DNS zone. It must be configured by whoever owns the IP address your mail server uses to send.
PTR records are often what’s missing after the rest of the authentication stack is fully set up. Most senders configure everything they directly control and still see deliverability problems because the sending IP does not point back to a trusted hostname.
Setting up a PTR record means finding the sending IP, confirming who controls it, choosing the right hostname, submitting the request to the IP owner, and checking that reverse DNS works after the change.
How to Set Up a PTR Record for a Mail Server: 5 Steps
PTR setup follows the same five basic steps with any hosting provider. The only part that changes is how you submit the PTR request.
The full process usually takes 1–5 business days. The first three steps take only a few minutes. The provider handles the PTR update, and then the final step is checking that reverse DNS works correctly.
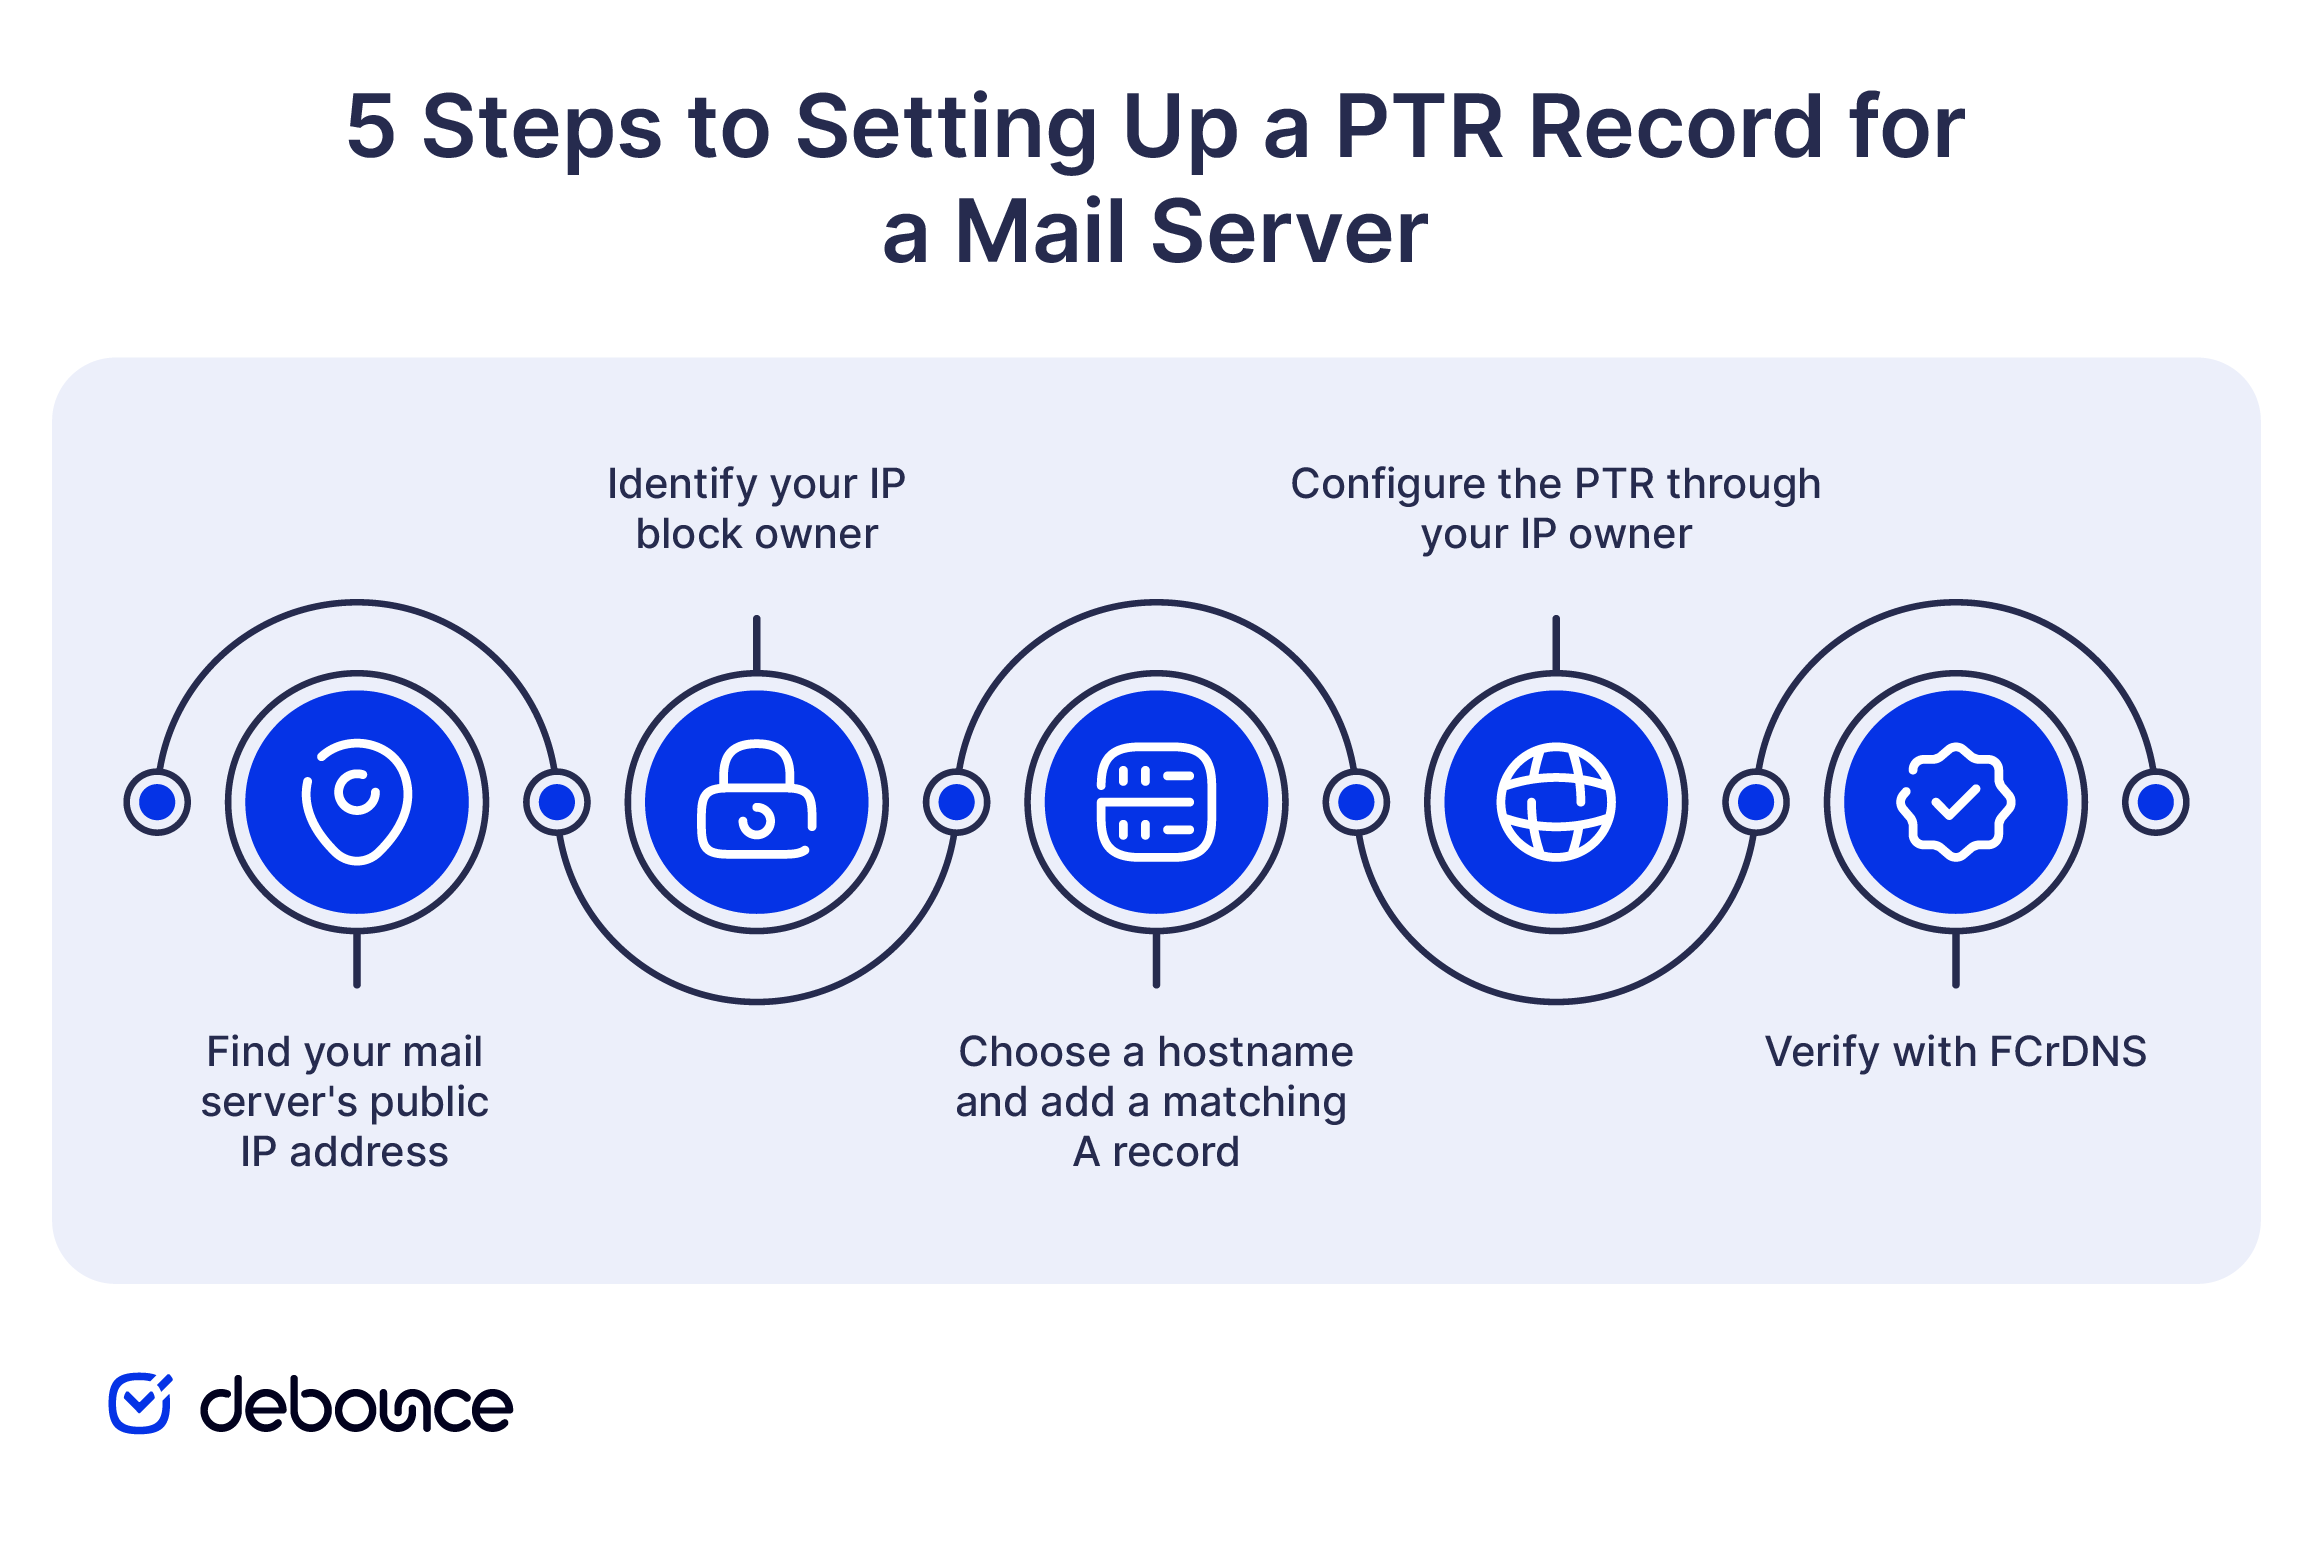
Step 1: Find your mail server’s public IP address
Identify the public IP your mail server uses for outbound SMTP connections. This is the IP that receiving mail servers actually see, not any internal or private IP your server might also use.
Run curl ifconfig.me from the mail server’s command line, or check your cloud platform’s network settings panel. For dedicated SMTP services, the sending IP usually appears directly in the provider’s dashboard.
Confirm the IP is static. PTR records require static IPs; they’re useless if the underlying IP changes periodically. Cloud platforms typically assign static IPs by default for mail servers, but verify this before proceeding to the next step.
Step 2: Identify your IP block owner
Look up the IP using MXToolbox’s reverse DNS tool or by running a WHOIS query against ARIN, RIPE, or APNIC, depending on your region. The result identifies the organization that controls the IP block, usually your cloud provider, hosting company, or ISP.
You cannot skip the IP owner. They control the reverse DNS zone where the PTR record lives. Even if you manage the DNS for your domain, you do not control reverse DNS for IP space you do not own.
Step 3: Choose a hostname and add a matching A record
Choose a hostname that clearly identifies the mail server’s role and domain, for example, mail.yourcompany.com or smtp.yourcompany.com work well. Avoid generic ISP-supplied hostnames like host-203-0-113-25.example-isp.com, which look suspicious to receiving mail servers even when technically functional.
In your domain’s DNS, create an A record pointing this hostname to your mail server’s public IP. This A record must exist before you submit the PTR request; Forward-Confirmed Reverse DNS (FCrDNS) requires that the forward and reverse lookups match each other.
Allow up to 24 hours for the A record to propagate before submitting the PTR request. Most DNS resolvers update within a few hours, but waiting the full window avoids a mismatch during the IP owner’s verification process.
Step 4: Configure the PTR through your IP owner
The exact path depends entirely on your provider. Cloud platforms, like AWS, Azure, and GCP, and dedicated VPS hosts typically offer self-service PTR configuration directly in their consoles. Traditional shared hosting and ISPs generally require opening a support ticket instead.
When submitting a request, include three things: the IP address, the desired hostname, and proof that you control the domain (the matching A record from Step 3 serves as that proof). Most providers respond within 1–3 business days. See the provider-specific section below for exact navigation paths.
Step 5: Verify with FCrDNS
Once the IP owner confirms the PTR is set, verify it with two commands. First, run dig -x 203.0.113.25 @8.8.8.8 (substituting your actual IP) to confirm the reverse lookup returns your chosen hostname. Then run dig mail.yourcompany.com @8.8.8.8 (substituting your hostname) to confirm the forward A lookup returns the same IP.
Both queries must return matching results. This forward-and-reverse match is FCrDNS, the standard check that receiving mail servers perform. A PTR that returns a hostname whose A record doesn’t point back to the original IP fails FCrDNS and gets treated as invalid, even though a PTR record technically exists.
Allow up to 24 hours for full DNS propagation before assuming the new PTR is reliably visible from all networks.
PTR Record Setup by Hosting Provider
The exact configuration path varies significantly across hosting platforms. Cloud platforms generally offer self-service PTR configuration through their consoles or APIs, while traditional shared hosting requires a support ticket. The information needed is identical in either case: IP, hostname, and proof of domain ownership.
AWS EC2 and SES
AWS requires a support request rather than self-service configuration. Open the Support Center in the AWS Console, choose “Service: SES” or “Service: EC2” depending on the source of your sending traffic, and submit a Reverse DNS request. Include the Elastic IP and your desired hostname. Reviews typically take 24–48 hours. AWS’s SES reverse DNS documentation covers the complete request workflow in detail.
Microsoft Azure
Azure supports PTR configuration through both the Portal and PowerShell. In the Portal, navigate to your Public IP resource and find the Reverse DNS field directly. Via PowerShell, use Set-AzPublicIpAddress with the ReverseFqdn parameter. Microsoft’s Azure reverse DNS documentation covers the exact syntax for both approaches.
Google Cloud Platform (GCP)
In the GCP Console, navigate to VPC Network → External IP addresses. Click the three-dot menu next to the relevant IP and choose Reverse DNS. Enter your hostname and save. GCP verifies that the hostname’s A record points to the IP before activating the PTR, which means Step 3 above needs to be complete before this step will succeed.
Hetzner, Linode, and DigitalOcean
All three dedicated VPS providers offer self-service PTR configuration directly through their control panels. In Hetzner Robot or Cloud, find the IP under Servers, click the pencil icon next to rDNS, and enter the hostname. In Linode Cloud Manager, open the Linode’s Network tab. In DigitalOcean, configure PTR under the Networking section of the Droplet settings.
Shared hosting and cPanel
Traditional shared hosts, such as Bluehost, HostGator, GoDaddy, and most cPanel-based providers, typically don’t offer self-service PTR configuration. Open a support ticket requesting a PTR record for your IP, pointing to your mail server’s hostname, and provide proof of domain ownership via the matching A record.
Some shared hosts don’t allow PTR customization at all, regardless of how the request is framed. If yours doesn’t, the only path forward is migrating to a provider that does. That usually means a dedicated VPS, a cloud platform, or a transactional email service with PTR support included.
Hosted email services (Google Workspace, Microsoft 365)
Hosted email services manage PTR records on their own shared infrastructure. Senders using Google Workspace or Microsoft 365 don’t need to configure PTR themselves, as the service provider handles it for the IPs they own and control.
This only applies when you send through the service’s own outbound servers. If you route mail through a third-party SMTP server while using Google Workspace or Microsoft 365 for other purposes, the PTR requirements apply to that third-party server’s IP, not to Google’s or Microsoft’s infrastructure.
How to Verify Your PTR Record Is Working
Verification confirms two separate things: that the PTR is configured at all, and that FCrDNS resolves cleanly. Skipping this step is the most common reason teams believe a PTR is set when it actually isn’t functioning correctly.
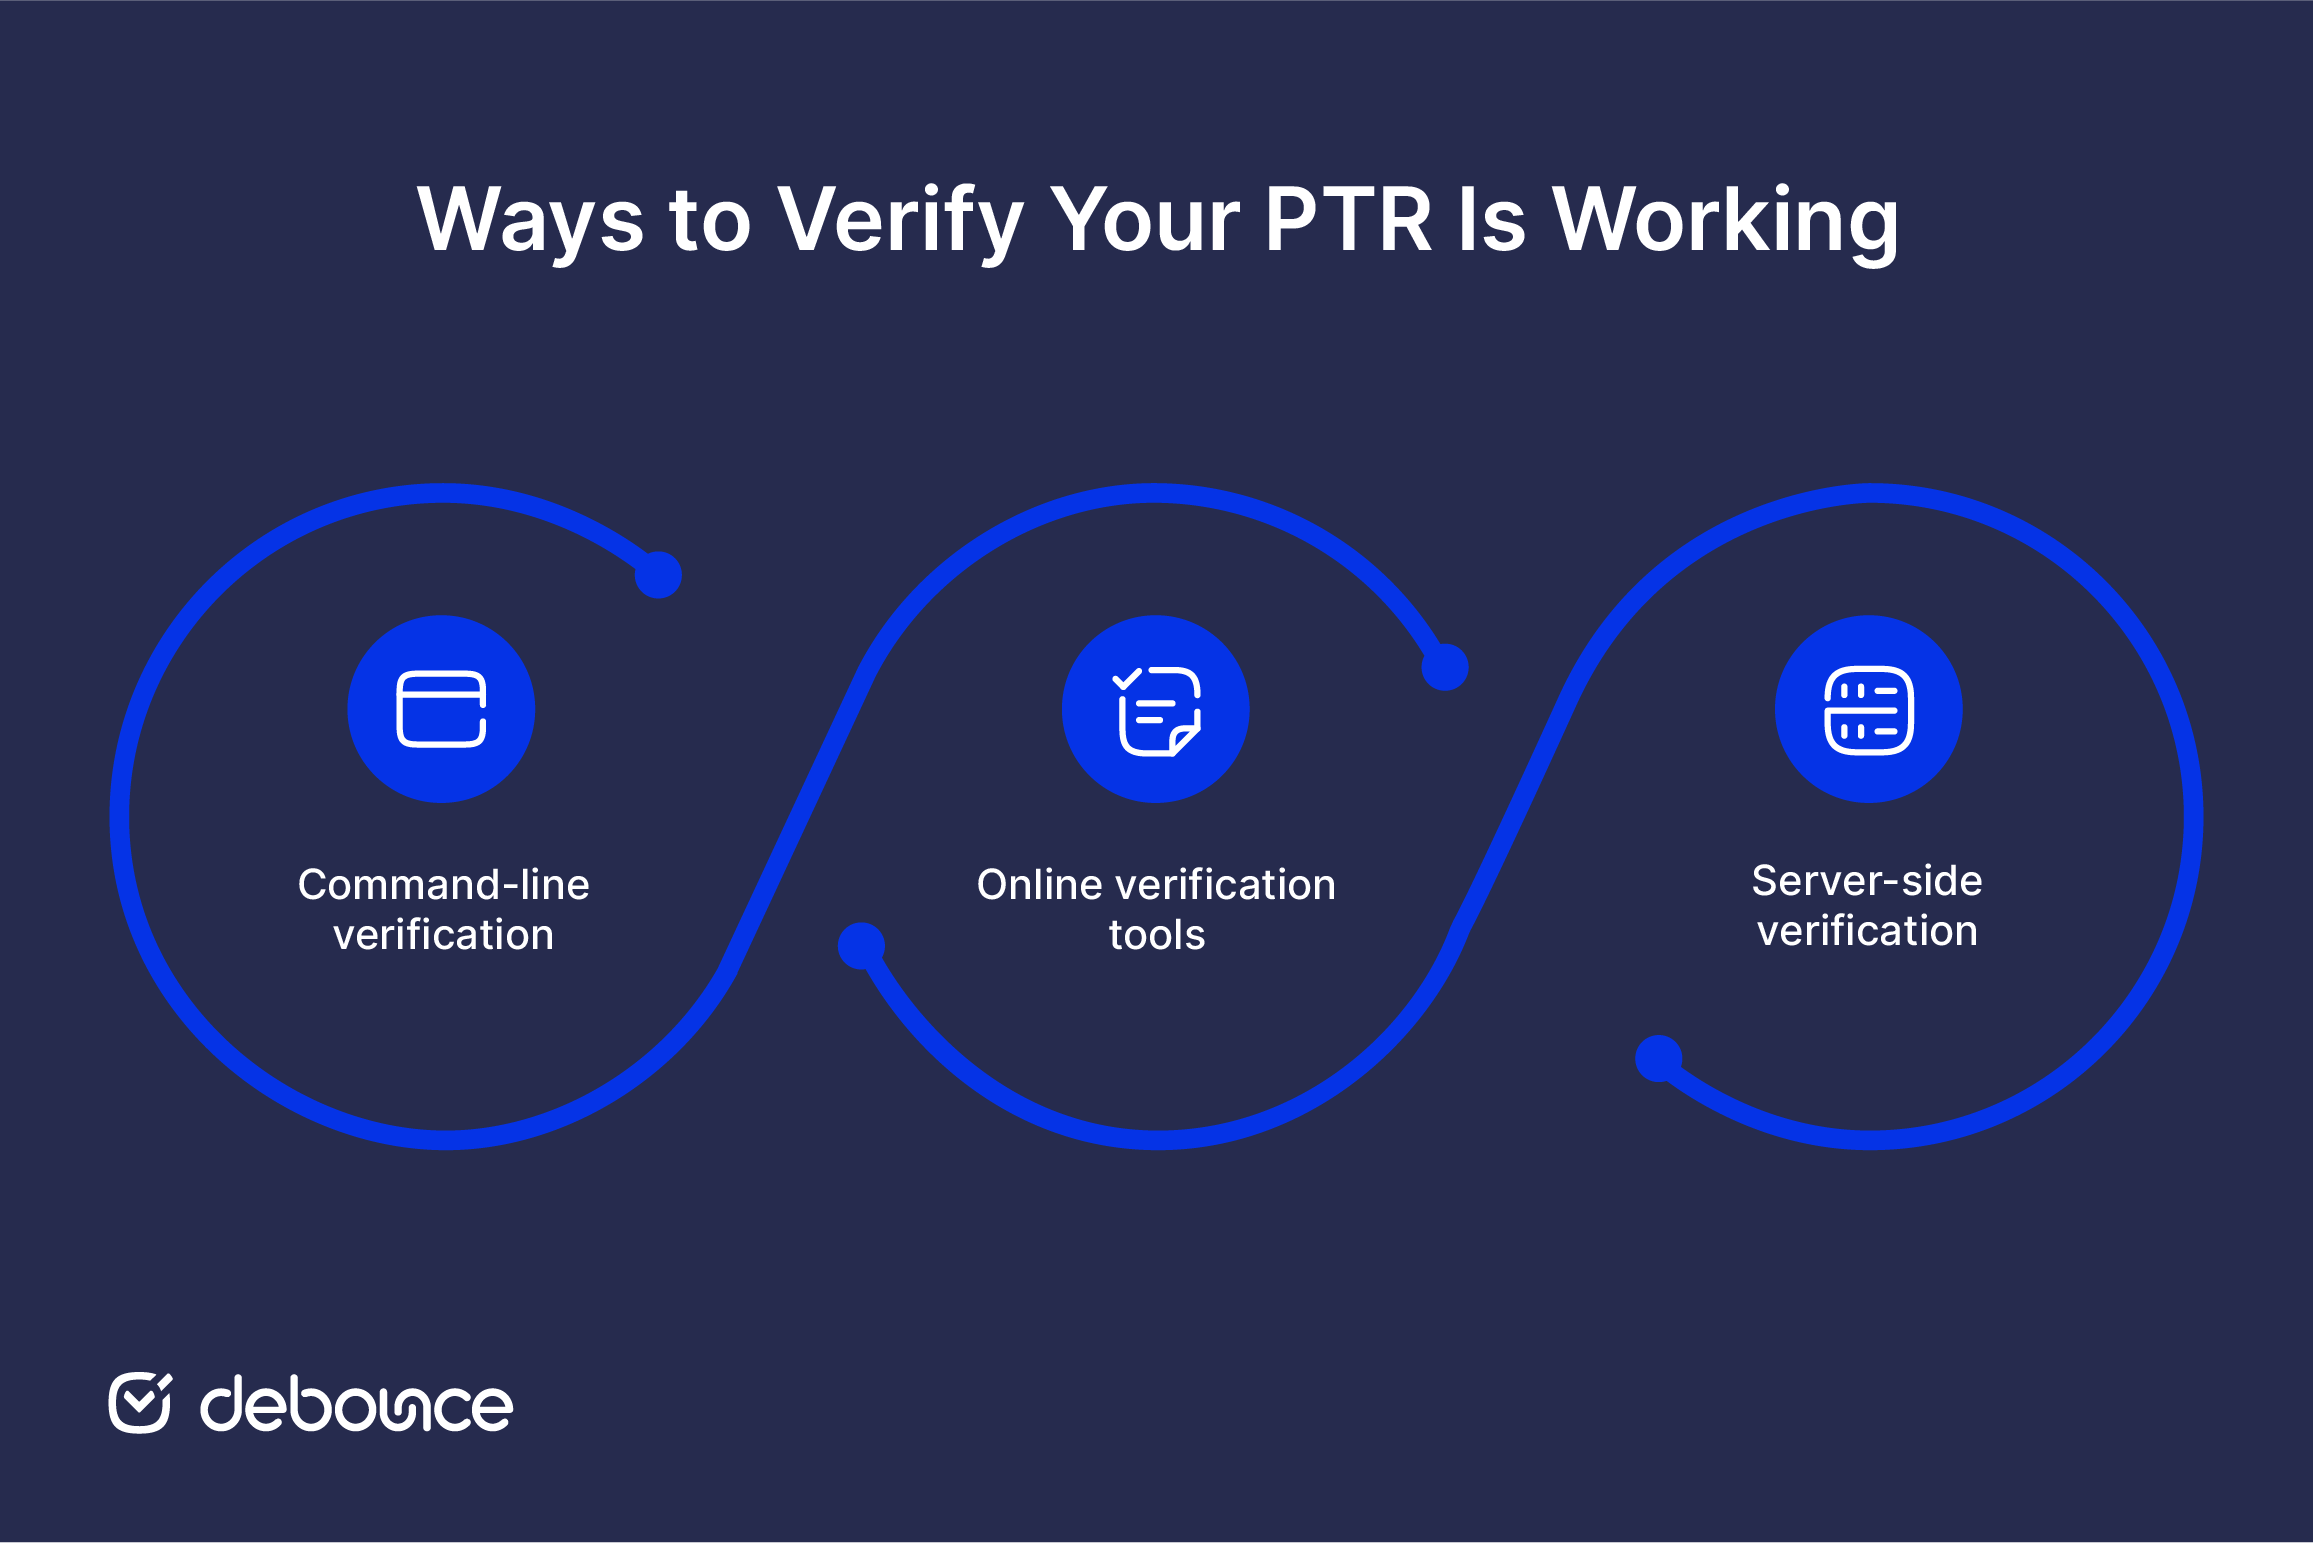
- Command-line verification: Run dig -x [your IP] @8.8.8.8 to confirm the reverse lookup returns your chosen hostname. Run dig [your hostname] @8.8.8.8 to confirm the forward lookup returns your IP. Both results must match; this is the FCrDNS check that receiving mail servers actually perform.
- Online verification tools: MXToolbox’s reverse DNS lookup accepts an IP and returns the PTR hostname plus a pass/fail status. This is useful for non-technical confirmation and for including in support tickets when working with your IP owner on a fix.
- Server-side verification: Run hostname -f on the mail server itself to confirm the server’s own configured hostname matches what the PTR returns. If they differ, the mail server’s HELO/EHLO command sends a different name than the PTR resolves to, and most receiving servers treat that mismatch as a soft fail, even when the PTR itself is technically valid.
Common PTR Record Problems and How to Fix Them
These four issues cause most PTR-related deliverability problems. In most cases, fixing them means contacting the IP owner.
Missing PTR record entirely
Diagnose: Running dig -x [your IP] @8.8.8.8 returns no PTR result, or returns NXDOMAIN.
Fix: Contact the IP owner and request a PTR record pointing to your chosen mail server hostname. Provide proof of domain ownership and the matching A record from your domain’s DNS as supporting evidence.
PTR hostname doesn’t match the A record (FCrDNS failure)
Diagnose: The reverse lookup returns a hostname, but the forward lookup of that hostname returns a different IP, or no IP at all. This is the classic FCrDNS failure pattern.
Fix: Either update the A record to point to the actual sending IP, or request that the IP owner update the PTR record to match an existing A record. Both records must resolve back to each other for FCrDNS to pass.
Generic ISP hostname instead of branded hostname
Diagnose: The PTR returns a hostname like host-203-0-113-25.example-isp.com rather than a branded hostname under your own domain.
Fix: Request that the IP owner update the PTR to point to a hostname under your domain (mail.yourcompany.com or smtp.yourcompany.com). Generic ISP hostnames don’t technically fail FCrDNS, but they look suspicious to receiving servers and reduce overall trust signals.
Missing IPv6 PTR record
Diagnose: PTR works correctly for IPv4 traffic, but Gmail rejects IPv6-delivered mail with “reverse DNS failed” or “sender identity mismatch” errors.
Fix: Request a separate PTR record specifically for the IPv6 address. IPv6 PTR records live in the ip6.arpa zone with nibble-reversed notation, which means they’re configured entirely separately from IPv4 records even when both serve the same mail server.
PTR Records Done Right
PTR setup follows a universal 5-step process, but the actual configuration path varies by provider. Cloud platforms and dedicated VPS hosts offer self-service configuration; shared hosting requires a support ticket; hosted email services handle the entire process on your behalf.
FCrDNS verification is the single most important check after configuration completes. Most PTR-related deliverability problems trace back to a mismatch between the PTR and the matching A record. Fix that mismatch, and the related deliverability issues typically resolve on their own.
Strong domain and IP reputation depends on PTR records working alongside SPF, DKIM, and DMARC. PTR records confirm identity at the network level, but they do not replace good list hygiene. For reliable deliverability, authentication and list quality both need to be in place.
If you’re setting up a new mail server or warming up a new sending domain, pair the PTR setup with Email List Validation before your first production send. Strong authentication and a clean list together give every message the best possible chance of reaching the inbox, and each one fixes a problem the other can’t touch.