
Spear phishing uses researched, target-specific information that makes messages appear trustworthy, bypassing generic spam filters and human instinct. Spear phishing attackers gather information...

Key Takeaways
This article covers dedicated IP addresses for email sending, not static IPs for home networking, VPNs, or gaming servers. The use case here is high-volume email senders who want full control over their own sender reputation.
Here’s the counterintuitive reality about how to get a dedicated IP address: the moment you receive one, it starts with zero reputation. Every mailbox provider treats it as an unknown sender until proven otherwise. According to HubSpot’s standard sender documentation, a proper warm-up takes 40 days, and without that gradual ramp, the dedicated IP that promised better deliverability instead drops emails into spam folders for the first two months. The IP itself is not the upgrade; the warm-up discipline is.
Most senders get a dedicated IP through their email service provider, not by buying IP space directly. The steps below explain the standard ESP-managed process.
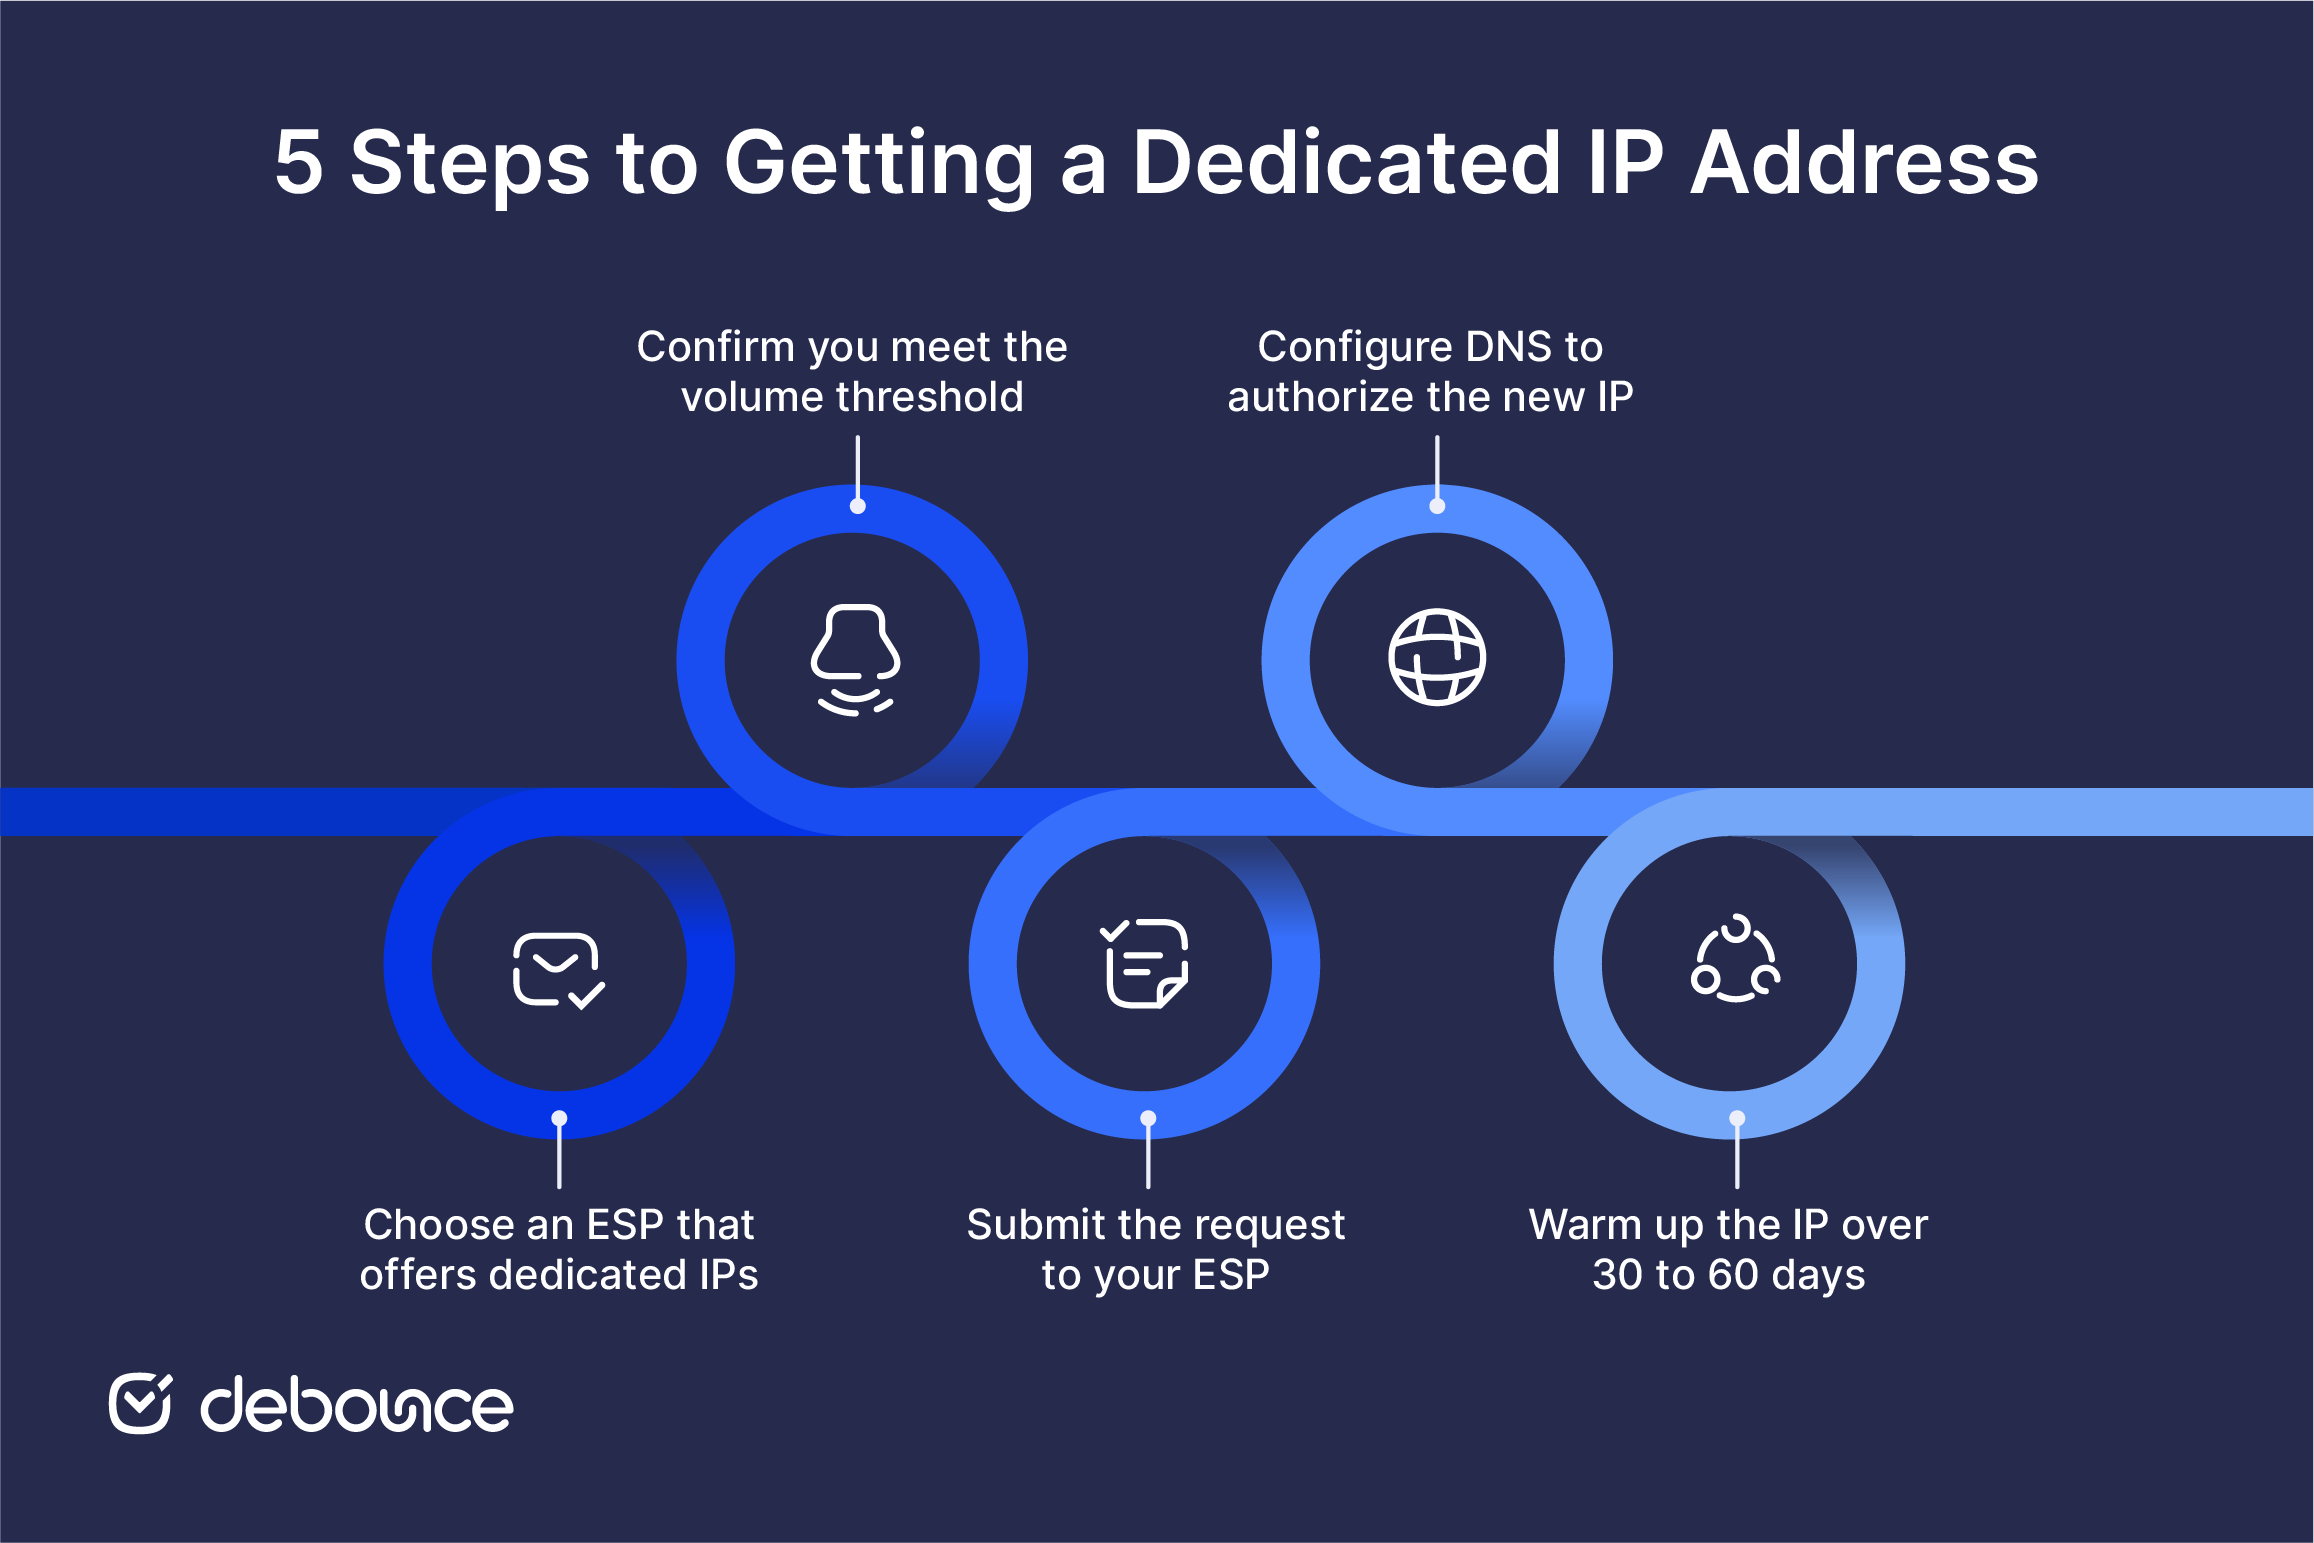
Confirm that your current email service provider offers dedicated IPs as an add-on feature. Most enterprise-grade ESPs do: SendGrid, Mailgun, Postmark, HubSpot, Mailjet, MailerSend, and Amazon SES all provide dedicated IP options at eligible volume tiers.
Consumer mailbox providers don’t qualify. Gmail and personal Outlook accounts don’t offer dedicated IPs. Google Workspace doesn’t provide dedicated IPs natively either; senders must route outbound mail through a separate ESP or outbound gateway that manages the dedicated IP.
If your current ESP doesn’t offer dedicated IPs or the pricing doesn’t fit the budget, evaluate switching before requesting one. Migrating to a new provider after a dedicated IP is provisioned means starting another full warm-up cycle, which adds 30–60 days to the timeline for no benefit.
Check the ESP’s specific eligibility requirements before submitting a request. Volume thresholds vary meaningfully across providers, for example:
These thresholds exist because mailbox providers need consistent sending volume to build a reliable reputation signal for any given IP. A sender who hits the threshold one month and sends nothing the next builds no reputation at all. For more, sporadic high-volume sending interleaved with quiet periods can look suspicious to inbox providers.
Run a 30-day audit of actual sending volume before requesting a dedicated IP. The volume needs to be both high enough to meet the threshold and consistent enough month-over-month to sustain the reputation-building process.
Open a support ticket or use the ESP’s dedicated IP add-on workflow (most providers have one built into the billing or account settings section). Some require a paid plan upgrade before dedicated IPs are available, while others treat it as a standalone add-on accessible at any plan tier.
When submitting the request, provide the sending domain, current monthly sending volume, and intended use case (marketing email, transactional email, or both). High-volume senders often receive multiple IPs and assign one per use case to keep streams separated.
Expect approval timelines of 1–5 business days. The ESP reviews whether the request meets eligibility criteria, then provisions the IP and provides the configuration details needed for Step 4.
Add the newly provisioned IP to the sending domain’s SPF record. Without this update, SPF can fail for mail sent from the dedicated IP, increasing the risk of filtering or rejection. A properly configured SPF record for the custom domain, including the new IP, is the baseline for everything that follows.
Confirm DKIM signing is enabled for the sending domain and that the DKIM signature aligns with the From header domain. The ESP typically provides the DKIM public key to publish in DNS as a TXT record. Most will also include this in the dedicated IP setup documentation sent when the IP is provisioned.
After DNS changes propagate, typically within a few hours, occasionally up to 48 hours, verify alignment by sending a test email to an external Gmail or Yahoo address. Open the full message headers and confirm SPF, DKIM, and DMARC all show pass results. Anything less means a configuration step was missed before warm-up begins.
A new IP with no sending history needs to build reputation gradually. Start with a few hundred messages per day, sent exclusively to the most engaged segment of the list: subscribers who have opened and clicked in the last 30 to 60 days. Mailbox providers assess the incoming engagement signals carefully during the early warm-up period, and positive signals from engaged recipients establish a favorable reputation baseline faster than anything else.
Increase volume daily, roughly doubling or tripling every few days in the early phase, then slowing to smaller daily increments as volume grows. The full warm-up schedule for a typical IP takes 30 to 60 days depending on starting volume and target send rate.
Monitor delivery rates, open rates, and complaint rates daily during warm-up (not weekly). If complaint rates exceed 0.1% or bounce rates exceed 2%, pause the ramp and investigate before resuming. Continuing through elevated complaint rates damages the IP’s reputation at precisely the moment when it’s most fragile.
Automated warm-up tools from ESPs like SendGrid handle the volume ramp automatically when paired with a properly engaged list. Manual warm-up requires daily attention and a clear ramp schedule. Either approach works; the difference is operational discipline.
The volume threshold from Step 2 is necessary but not sufficient. The following four factors determine whether a dedicated IP actually improves outcomes for a specific sender or whether a well-managed shared IP is the better choice.
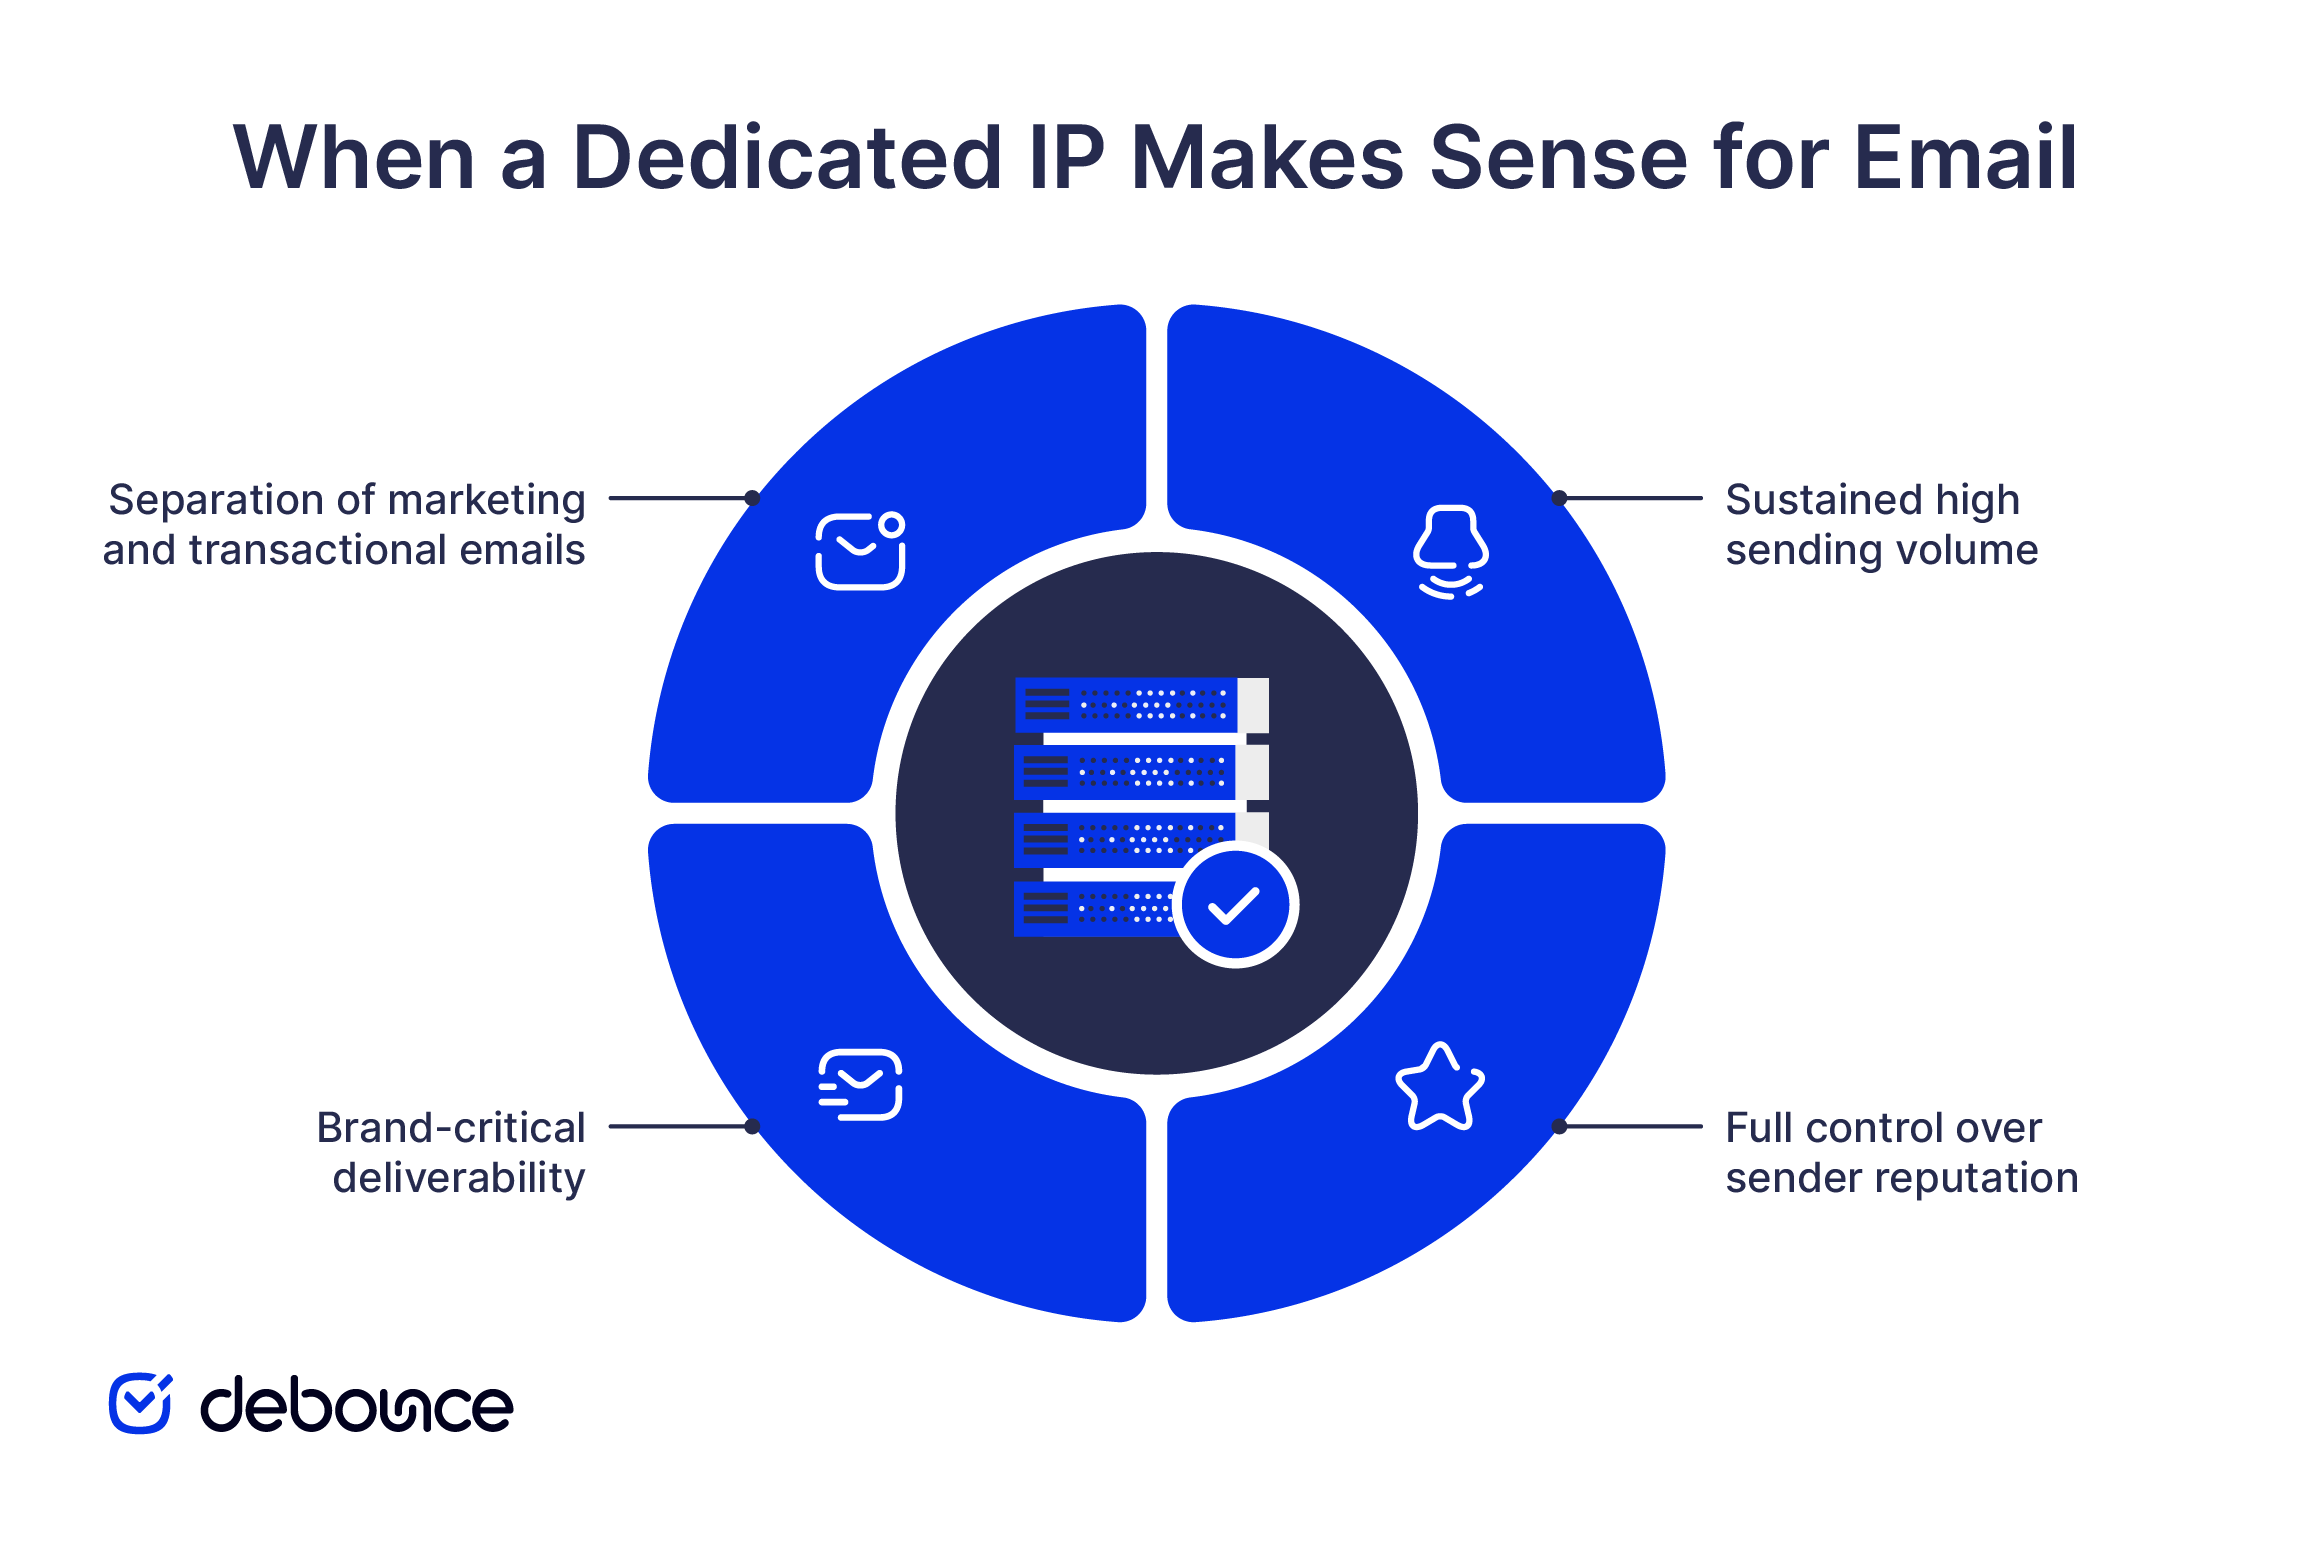
Same SMTP protocol, same delivery infrastructure, very different reputation models. The comparison is best understood across five characteristics:
| Characteristic | Shared IP | Dedicated IP |
| Reputation control | Reputation depends partly on other senders using the same IP | Reputation depends entirely on the sender’s own practices |
| Warm-up requirement | No warm-up needed — the IP already has established reputation | 30–60 day warm-up before reaching full sending capacity |
| Cost | Included in standard ESP pricing | Typically $50–$300 per month per IP as an add-on |
| Sender isolation | Another sender’s complaint spike can temporarily affect your delivery | No other senders; no shared consequences |
| Best for | Low to mid-volume senders without dedicated deliverability operations | High-volume senders with operational discipline and strong list hygiene |
For most senders below the 150,000 per month threshold, a reputable ESP’s shared pool, actively managed by the provider with enforcement against poor senders, is the lower-risk, lower-effort choice. The dedicated IP only earns its value when volume, consistency, and operational discipline are all present.
Dedicated IP pricing is structured as an add-on with eligibility requirements, not a simple unit price, which makes budgeting for it less straightforward than most ESP costs. The total cost involves three components.
A dedicated IP is one of the most effective deliverability tools available, but only at the right volume, with the right warm-up discipline, and on top of a clean sending list. Without those three conditions in place simultaneously, a shared IP through a reputable ESP performs better by most measurable criteria.
The 5-step process runs over 4–10 weeks from initial request to a fully warmed IP. Plan accordingly. The IP isn’t useful the day it’s provisioned; it starts earning its value on day 30 to 60, after consistent sending to engaged subscribers has built enough reputation history for mailbox providers to treat it favorably.
During warm-up, monitor domain and IP reputation closely. Check Google Postmaster Tools and your ESP dashboard every day, especially for changes in complaint rate, bounce rate, and delivery rate.
Before requesting the IP, validate your sending list. Email List Validation removes invalid, disposable, and high-risk addresses from the warm-up segments, helping prevent early bounces and complaint spikes. Clean the list first, then request the IP.
A dedicated IP address for email is an IP address allocated to a single sender for outbound email, isolating their sending reputation from every other sender. The opposite is a shared IP, where multiple senders all send from the same address and share the reputation consequences of each other’s behavior.
Typically $50–$300 per month per IP as an add-on to an existing ESP plan. Pricing varies by provider, plan tier, and IP region. Some ESPs include dedicated IPs at no extra charge at sufficiently high-volume tiers. Always confirm current pricing directly with the provider.
30–60 days for a standard warm-up, starting at low volume with the most engaged segment and gradually scaling. HubSpot’s documentation cites a 40-day standard. Faster warm-ups are possible with highly engaged lists and automated tooling; slower ones happen when complaint rates trigger necessary pauses.
No. Below roughly 150,000 emails per month, a shared IP with a reputable ESP performs better. A dedicated IP needs consistent high volume to build the reputation signal that makes it valuable. Low-volume senders can’t provide that volume, and the IP’s reputation stays weak regardless of the content quality.
Not directly. Google Workspace does not offer dedicated IPs natively. Senders who need dedicated IPs while using Google for their workspace must route outbound marketing or high-volume email through a separate ESP or outbound gateway that provides the dedicated IP infrastructure.
Find quick answers to your questions about our pricing and plans.
Spear phishing uses researched, target-specific information that makes messages appear trustworthy, bypassing generic spam filters and human instinct. Spear phishing attackers gather information...

Many e-commerce marketers are very keen on investing in email marketing. They are growing their lists, sending engrossing email campaigns to engage visitors or, better...

Data enrichment adds missing context to existing records, helping you understand who your contacts are and how to work with them. It is...

Email impersonation happens when an attacker sends messages that appear to come from a trusted person or organization, without needing to hack the...
Now, more than ever, more business owners are beginning to see and use email marketing as a veritable tool to foster productive business relationships with...

A bounced email is a message that fails to reach the recipient and is returned with a delivery error. High bounce rates damage...
